Archives

Category Archive for: ‘old’
Mini Balloon bag!
I came up with this idea after a recent mermaid party where balloons were also required. Instead of my big bulky apron I figured a mermaid would carry something a little more sparkly and delicate so here is what I cam up with! IMG_1722 
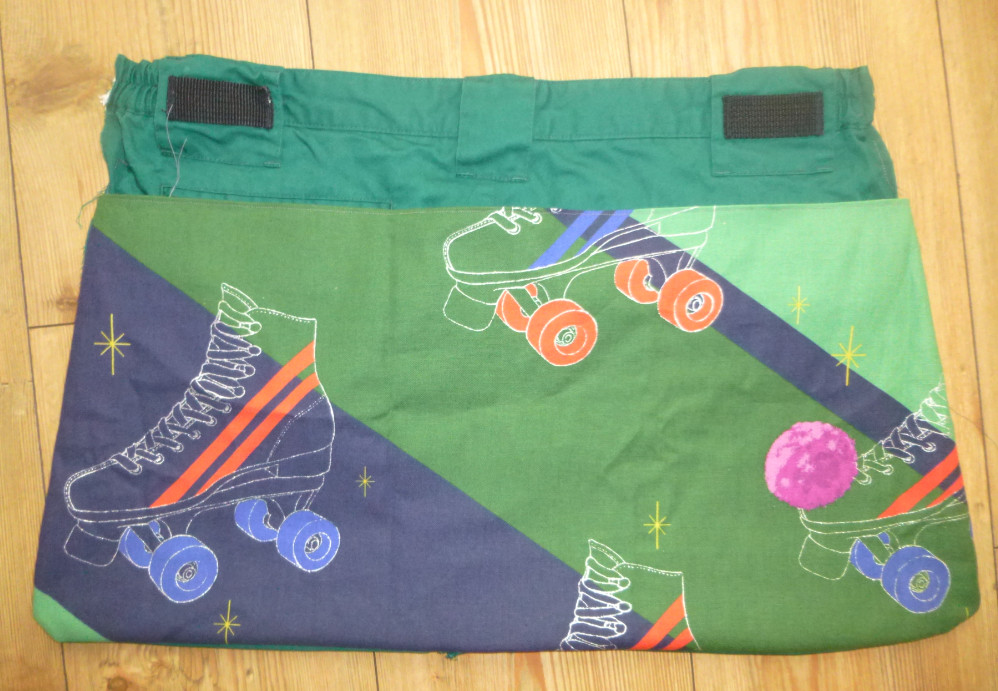
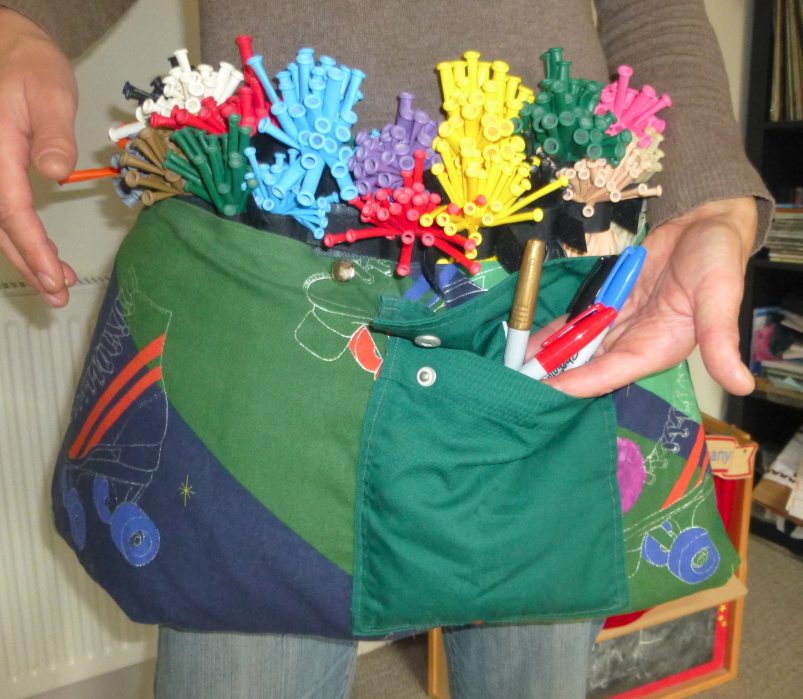
I have since used it loads! For my combination parties such as Princess, Fairy, Superhero, Pirate etc, the majority of the party is taken up with dancing and games and maybe crafts or face paint. The balloons are usually an addition where a quick 1  or 2 balloon design such as flower, sword, wand etc is required. Therefore this is idea to keep mainly larger 260Q balloons in, and the hearts for the wands fit in a side pocket (more on this later) along with a red and black sharpie (For princess / spiderman face for the birthday child!) It is lightweight and goes with most of my costumes and I am really pleased with it! It is based on the TwistemUp balloon bag with the balloon roll idea. I have to say I have ever seen one in the flesh so to speak so have had to improvise a little from pictures,  but I have the TwistEmUp apron which my balloon apron was based on. Here is how I made it!   
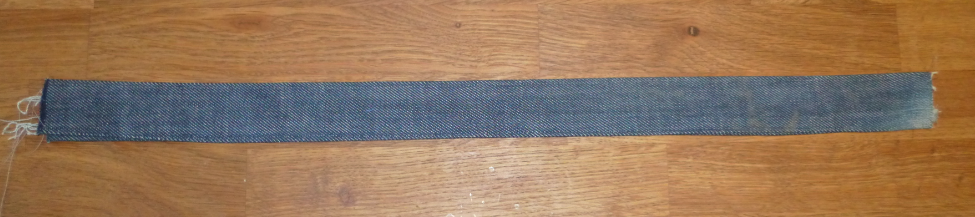
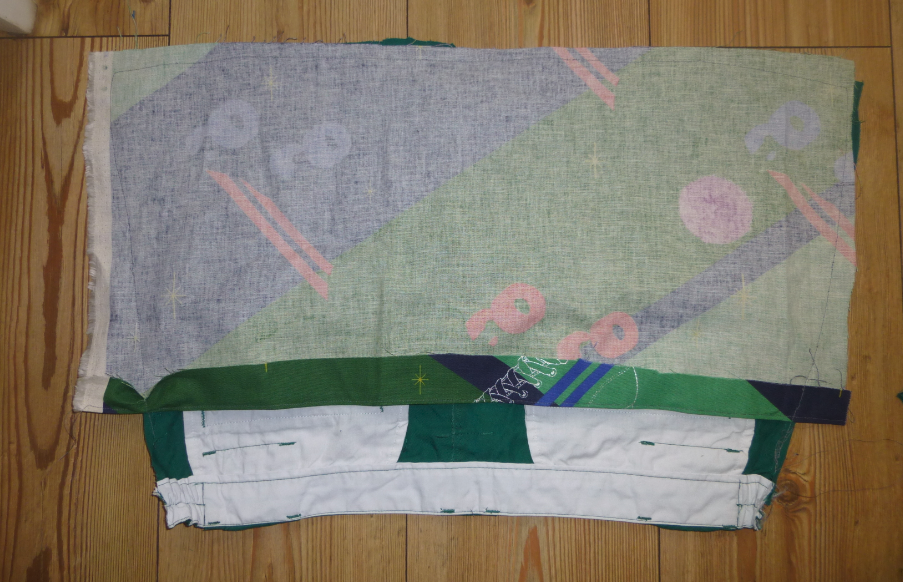
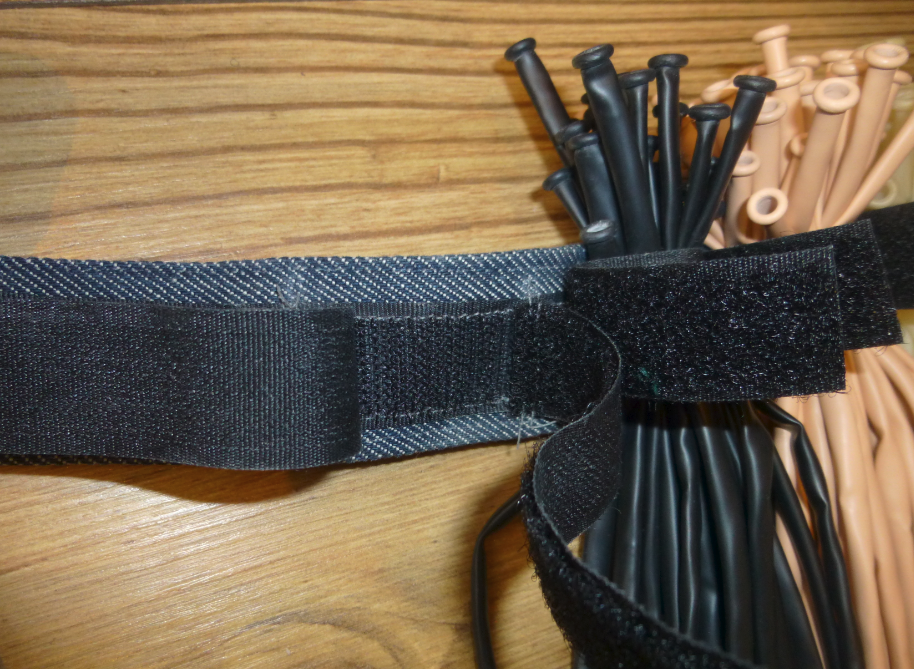
I started with a strip from the balloon apron I made previously here and laid it across a rectangle of laminated cotton. When I had the right size allowing for seams and length of balloons I hemmed it.

Screen Shot 2014-06-02 at 19.19.48Screen Shot 2014-06-02 at 19.19.55

  Poppers were hammered onto the fabric and the strip poppered on. Screen Shot 2014-06-02 at 19.20.26 
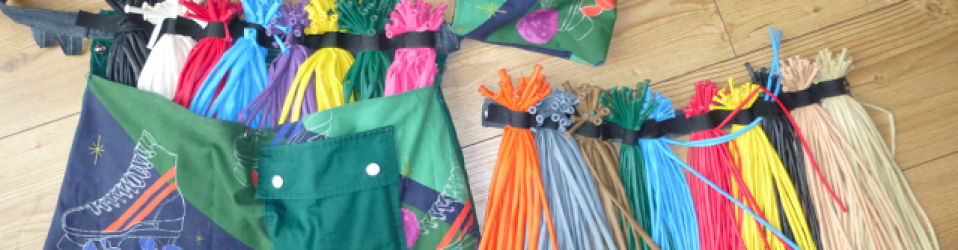
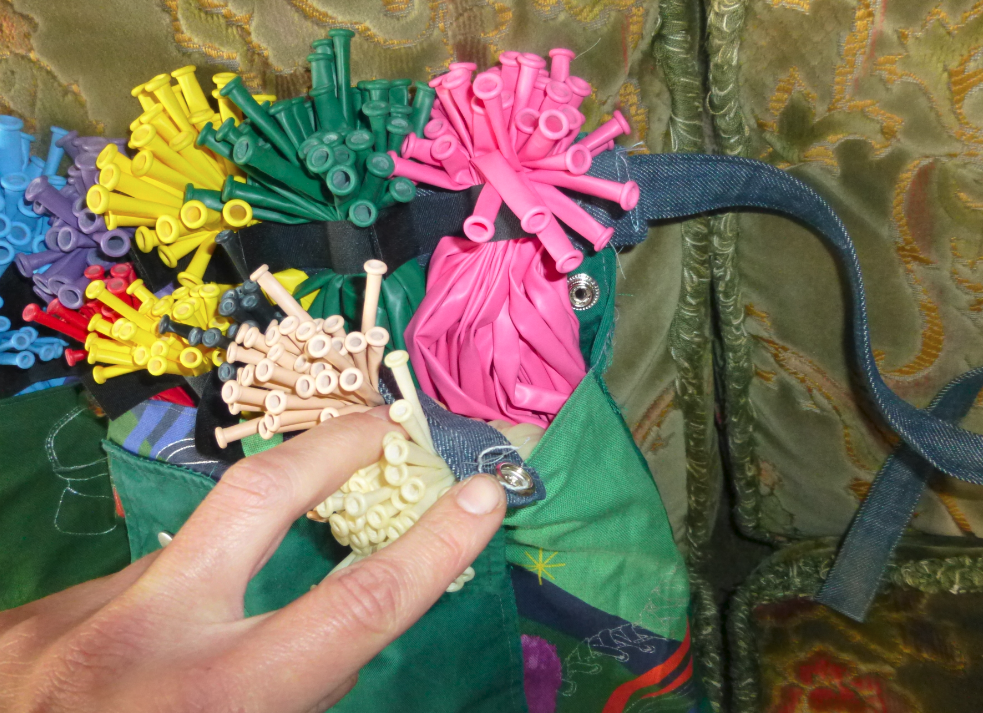
Next I loaded up the balloon strip with the most used balloons. A rainbow of 260Qs and blush 160Qs in case of an emergency fairy or princess design! Screen Shot 2014-06-02 at 19.20.14 I started to roll up the design and here is where I hit a snag. As you can see the fabric didn’t quite cover the bulk of balloons. This is where it would have been useful to see the official balloon rolls in action!  Not to worry though. I sewed on an additional extension of fabric ( I had run out of the original pattern however this one made a nice contrast).

  Screen Shot 2014-06-02 at 19.21.42 Screen Shot 2014-06-02 at 19.22.00Screen Shot 2014-06-02 at 19.20.32

I attached an additional strip of fabric which wrapped around the roll and poppered back to itself to hold the roll in place. I then found a lovely sparkly old belt which was perfect as a strap. This too was poppered on.

      Screen Shot 2014-06-02 at 19.19.39                        Screen Shot 2014-06-02 at 19.19.29

It was fine as was but needed some bling! Also a little more structure when in use – I had always intended the roll to be put into a bag. I was just trying to decide on a fabric in which to make the bag when I stumbled across these amazing old sparkly leg warmers!! Screen Shot 2014-06-02 at 19.19.20
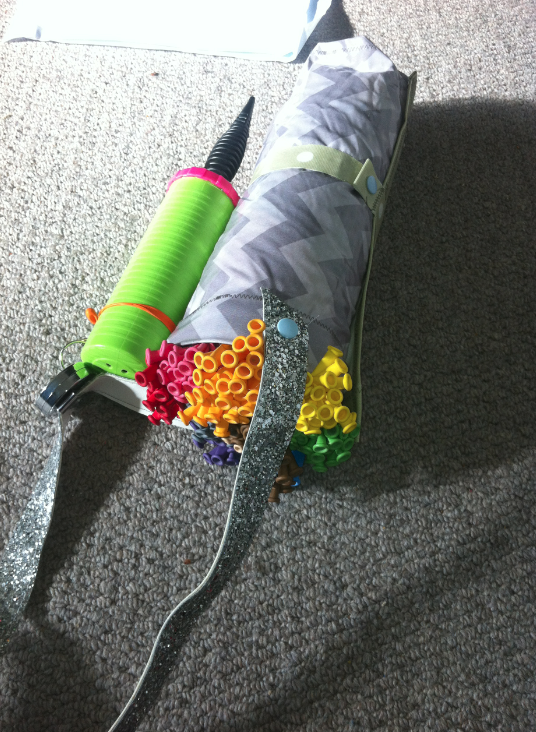
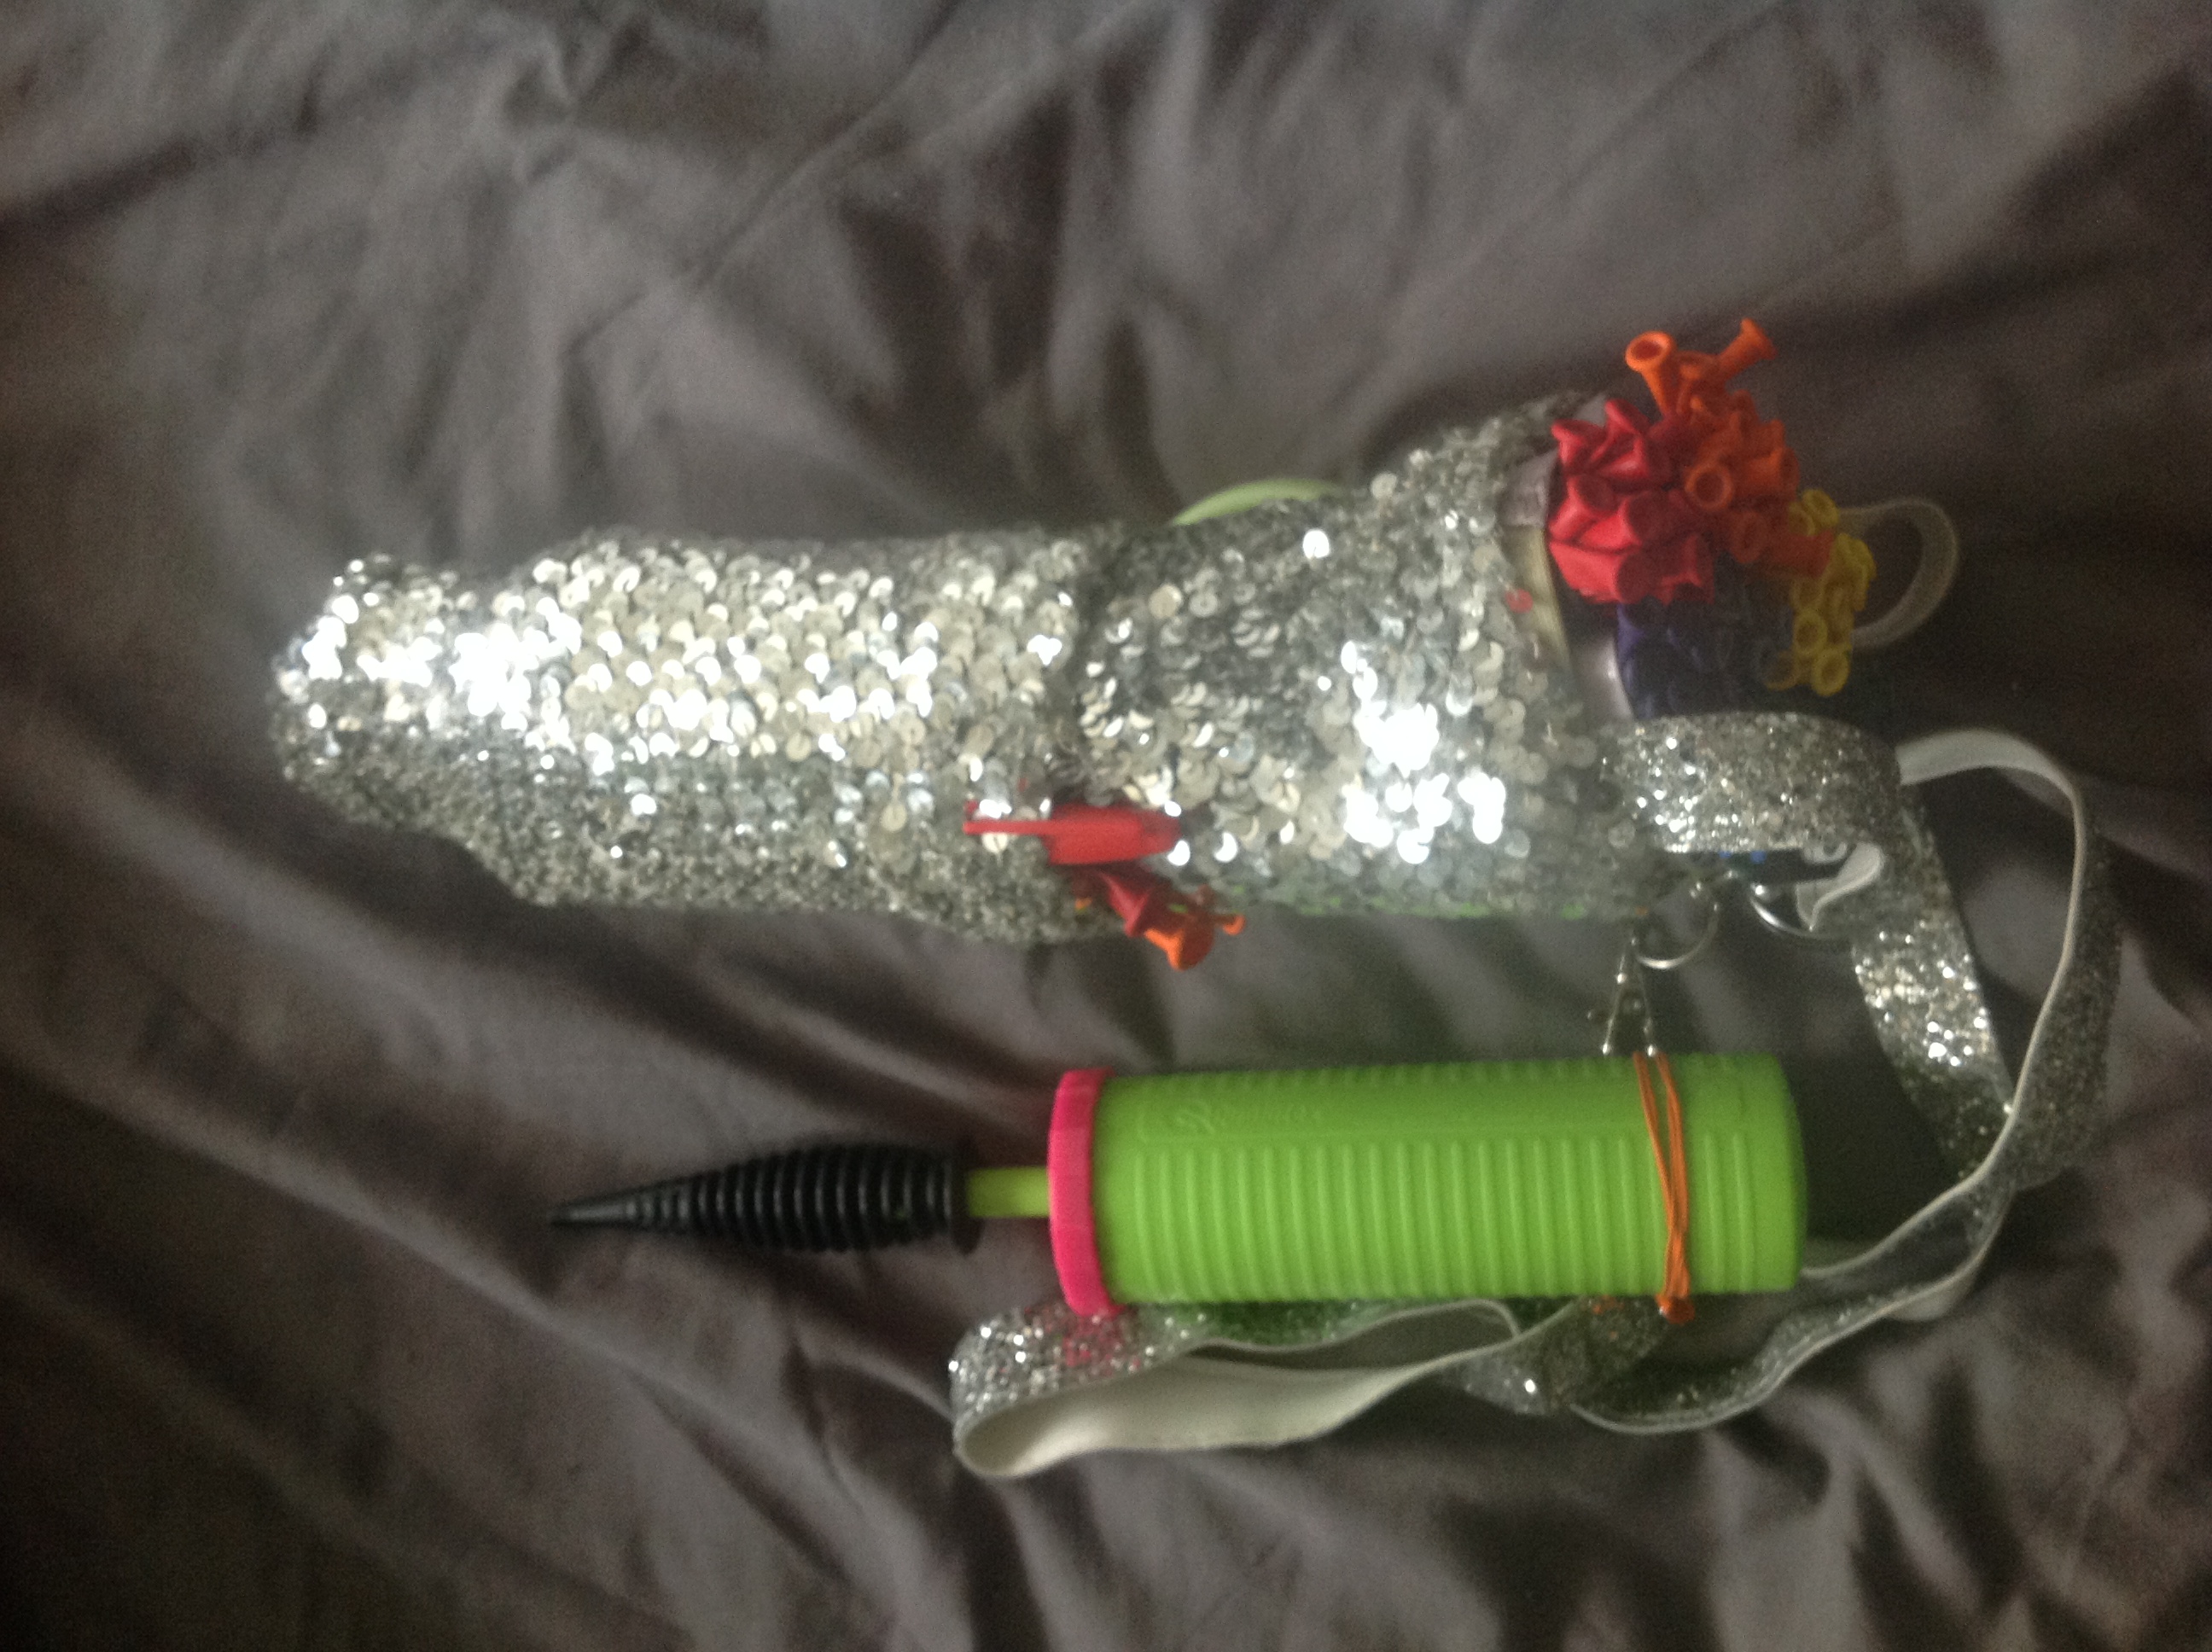
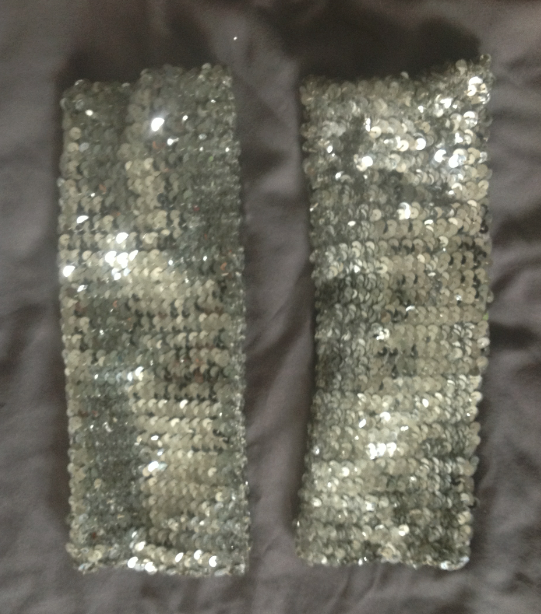
Yes I do have some strange things in my stash! They were stretchy and fitter perfectly around the roll! I closed one up at the base and then over lapped them which gave me the bonus of a pocket in which to keep my heart balloons (which I use for wands) and pens (red and black for features).  A clip attached my pump and the new balloon bag was ready for action!! I have so many comments on it as I use it – usually “Wow can you really buy balloon bags like that? I am very proud to reply no – I made it! ( Or more often “no – the fairies made it for me!!”) Screen Shot 2014-06-02 at 19.19.02
Balloon Twisting Bag / Apron

Balloon Twisting Bag / Apron

I have been using an Easy Load Deluxe Balloon Apron from Twist Em Up  for the last 12 months or so and really enjoy the fantastic design – in particular the easy load balloon strips. I have been dying to give it a go to try and make a similar one for a while and so with a rare child free morning I thought I’d give it a go!
I started with a couple of old jean legs I’d hacked off to make shorts last summer after the knees went! I’m glad I saved them (knew they’d come in handy!).
I cut a strip 45cm x 9cm
Then turned and ironed in the ends and folded it over. I then sewed along each side to make a strip around 3.75cm.
After trimming and turning in the ends of the strip I took a strip of the prickly edged velcro and sewed it on, then cut the furry side of velcro into 10X 9cm strips.
I then started to sew the furry strips on. I marked the centre in chalk and then 5 lines either side. As the strips wrap around the balloons they needed to be sewn on one side of the balloon space, so that made the chalk marks off centre. I have shown in the diagram and also how I positioned and sewed them with the chalk marks in blue and the centre in red. The velcro is sewn furry side up in the opposite direction to the space it will be covering (again see diagram showing velcro in yellow with slightly darker stitching.)
I then positioned and hammered poppers (well actually Dan hammered for me in the end!) on each side of the denim strip plus one in the middle. (You can just about see the one in the middle on this photo – there is also one at either end. )
I made 2 of these strips. Only one needed poppers though as I sewed the other directly to the Apron. And to the Apron. I again up-cycled, this time with Dan’s old work trousers. I had previously used the legs to make beanbags so they were coming in very handy! I cut out the back ‘bottom’ area in a rough apron shape, and also the pocket shown on the bottom right thigh area of the photo below which I thought may come in handy later!
This was positioned on top of my gorgeous Melody Miller Ruby Star Sparkle fabric – left over from the pin-board I made for Angharad and Matt’s wedding last week.
Both fabrics were laid as shown – good side up.
I sewed around the edges with a slight apron style curve, trimmed the edges, and then flipped the Melody Miller fabric inside out.
Ta da!
Dan helped with hammering again as I sewed the top popperless strip to the top of the apron and then the poppers matched up slightly below this strip in the centre and either sides so the first strip I made could snap on.
I got excited at this point and filled it with balloons before I could take photos! Oh – remember that pocket I chopped off Dan’s trousers? That was sewn to the front of the fabric along the sides and bottom. The top was not sewn up so it could function as 2 pockets – both inside and behind. I also sewed on more denim strips as waist ties.
You can see below how the balloons are kept in place with the velcro strips. It is such a clever design as each velcro can take up to 50 balloons but still keep them tightly in place when you are down to your last 5 or so.
Here is also shown how the strips popper on. The second row needs to come off and on, so you can load up the first strip.
The large pocket of the apron needed to be loose and big as to be able to fold all the balloons in once they are secured with the strips. After that however,  I wanted the pocket a little tighter which is why I added a popper in the middle of the bag as shown. (The Twist Em Up apron has zips down each side which make loading even easier, but I was after more of a quick project today!)
I then got even more carried away and made an extra pocket for the side and hooks for the other side to attach pump etc!
I was originally intending a few more pockets and probably would if I do it again, but I just couldn’t bear to cover any more of the fab fabric! I’m so pleased with how it turned out though and had such fun making it!  My Original Twist Em Up Apron cost me nearly £50 – this one less than a fiver! I can’t wait to give it test run!
Note: I used around 2m of velcro and half a pack of Heavy Duty Silver Nickle Snaps 15mm. Plus fabric remnants and old clothes!
Captain Kerry and Captain Lewis had great fun at Jack’s Pirate party last weekend! And as it was in a pub the grown ups rather enjoyed it too!!

jack pirate1 jack pirate3 jack pirate4 jack pirate2

 
Lots of fun was had with Spiderman and all the other mini Superheros at our Superhero Party in Oxford at the weekend! Screen Shot 2013-11-26 at 21.51.22
Dear Banbury Guardian. I am a small business running children’s parties. As this is a weekend based business I can only hope to do 4 parties a week with just myself, and with growing demand I wanted to advertise with you for another entertainer. This not a big money business, however even small businesses have to grow which is why a local part time job advertised in your paper might suit someone in Banbury perfectly. HOWEVER – your cheapest advert when I rang to enquire in recruitment was over £3000!!! For 1 WEEK!!! If I can fully book my new recruit with 2 parties a week I could hope to make maybe £20 a week from them. It would therefore take me 3 years to just pay you for your advert! That is assuming that I find exactly the right person in 1 week and that they work out and I get fully booked. This is not supportive of new small businesses. I am trying to provide training and great experience which could really suit someone, and to make a start in growing my company. My local paper really should have been the perfect medium for this, however you have made it impossible.www.cometomyparty.net If anyone reading this does know of anyone who would like to join Come To My Party in children’s party entertainment do get in touch!!
 
Here’s my new design of a minion balloon! My boys were very happy with this one! Can’t wait to try it out at a party soon! minion balloon minion balloon twist.png
I had a bit of fun today and used up all the scraps from the last few weeks balloon modelling parties! Here’s what I came up with – a balloon scrap / ends bracelet! Made out of just balloon ends and elastic, it would be a great way to find a use for balloons after any party!

balloon scrap bracelet

Now if it could only be programmed to clean up after parties! Screen Shot 2013-02-18 at 13.08.58